A Quick Guide to Clarinet Reed Care: Preparation, Storage & Adjustment
If you’ve ever opened your reed case and thought, “None of these feels right today,” you’re not alone. The relationship between clarinettist and reed can be a little fickle; one day it's magic, the next it's misery. That’s why implementing a reed care plan is essential.
In this guide, I’ll walk you through the exact reed management process I use, including, an approach to preparing & storing, the ideal humidity and how to test and adjust a reed, so you can spend less time battling your reed and more time making music.
Why Reed Care Matters
Arundo donax (the plant from which reeds are made) is a naturally porous and flexible material that reacts dramatically to changes in moisture and temperature. This is what makes it perfect for producing a sound on the clarinet, however, left untreated, the reed can warp, lack responsiveness and lose tonal quality.
So, it’s important to ensure your reeds are stored in a controlled environment and seasoned before long bouts of playing.
Storage Setup & Equipment
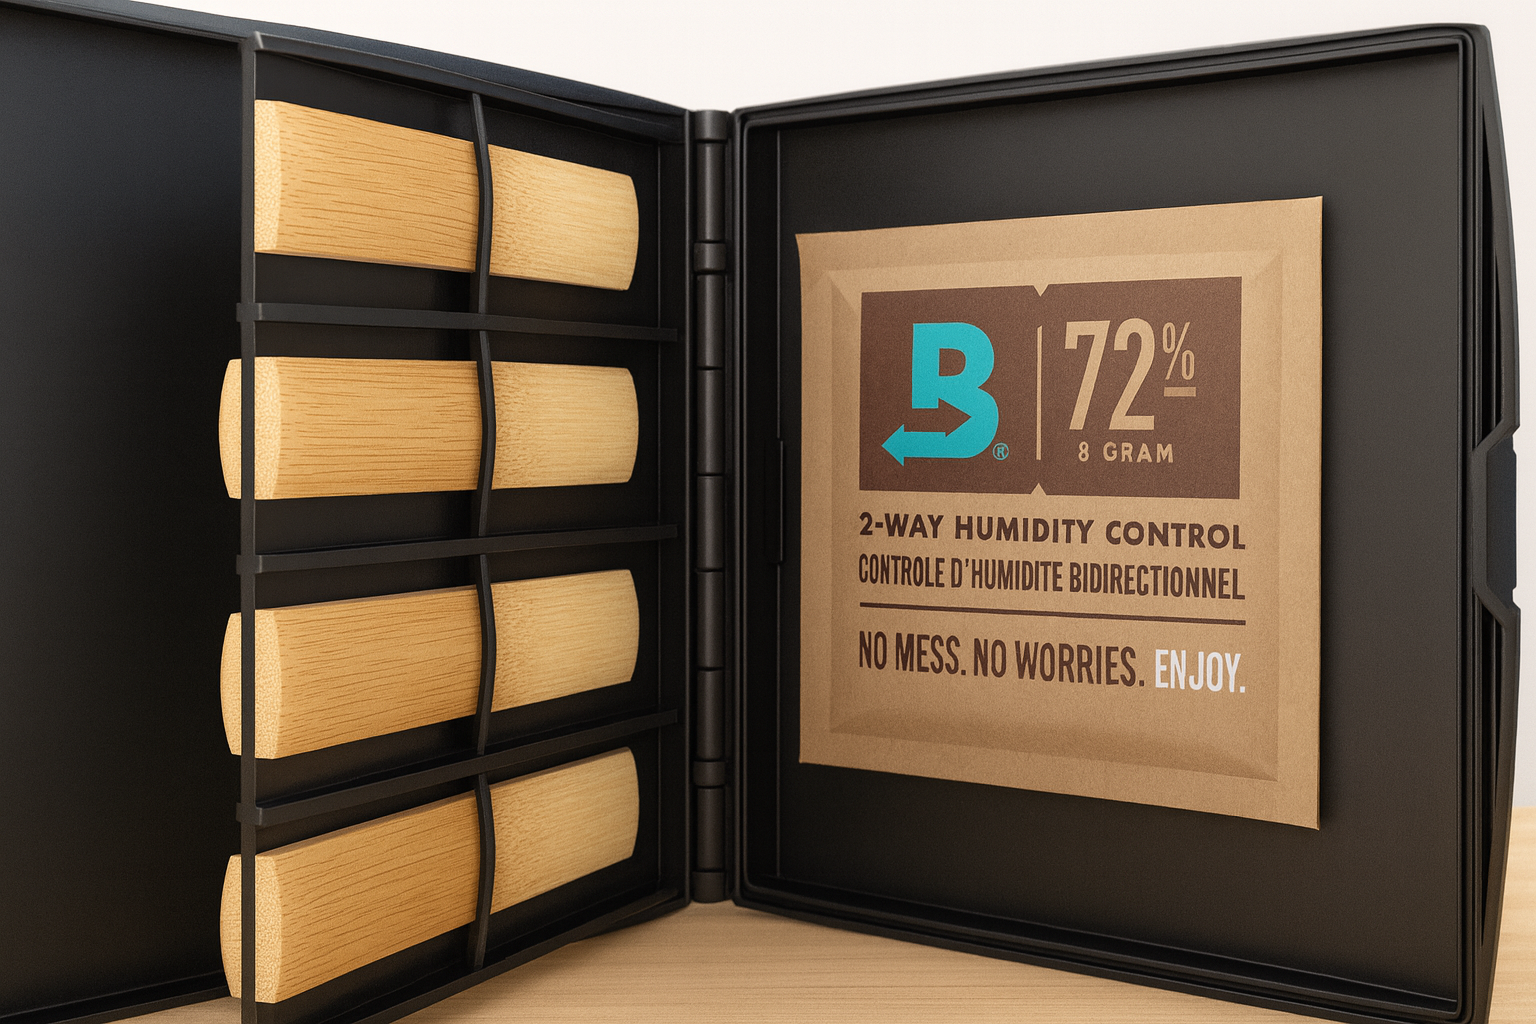
Humidity control is key to reed longevity. Aim for 50–55% humidity for general storage and closer to 70% for reeds that are performance-ready. This helps to keep them stable and prevents warping.
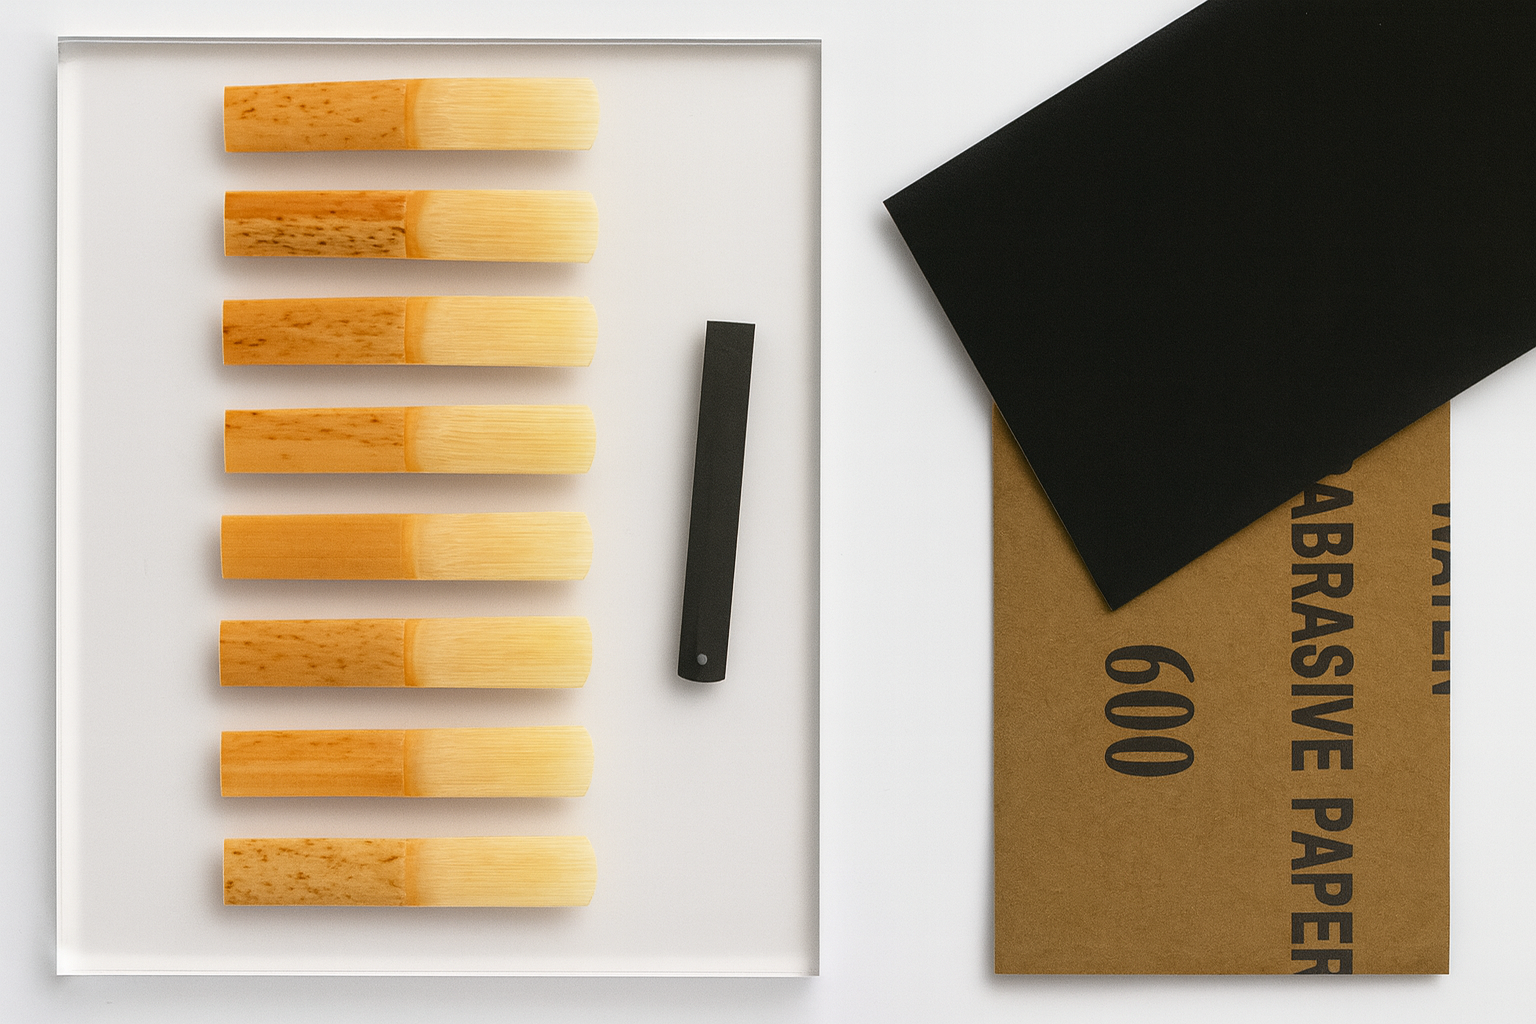
Recommended gear:
Air-tight reed case (D’Addario work brilliantly)
55–75% humidity packs or a sponge with a hygrometer
ReedGeek or Sand Paper 600 & 1200 grit
Perspex or PlexiGlass - Size A5 - 5mm-10mm thickness
Optional: Clear tupperware container for storing reeds (ability to monitor mold and moisture without opening)
The 5-Day Reed Plan

Just like you wouldn’t exercise without warming up, a reed needs to be ‘stretched’ a little before it’s performance-ready. Here’s a simple five-day plan to prepare your reeds for playing:
Day 1
Soak 15-30 seconds in water
Light play-test: minimal articulation and loud playing (a few scales will do!)
Sand lower half (under the bark) of the flat-side of the reed lightly with 600-grit paper.
Note: if the reed is already quite soft - little to no sanding is needed.
Remove excess moisture and place into your humidity controlled reed case.

Day 2–3
Repeat: soak, play, sand
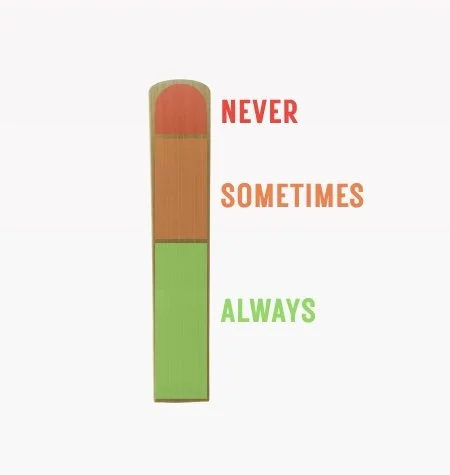
Begin evaluating each reed’s responsiveness and sort them from most to least responsive.
Dry the flat-side of reed on by lightly rubbing the reed in a circular motion on a piece of paper on a flat surface. Do this after each session.

Push and pull the tool to reduce warping
A little guide to remember when sanding the back of the reed.
Day 4
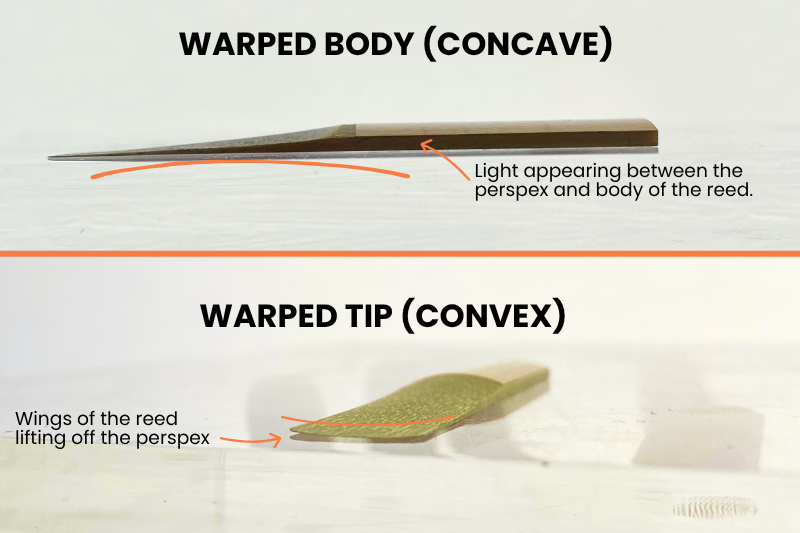
Check for warping with a ReedGeek or laying the reed on clear plexiglass/perspex.
Check for light appearing between the reed and the perspex from side and tip viewpoints. (If it is badly warped at the tip, move on to another reed ☹️).
Otherwise, make the necessary adjustments (go slowly!). Test play after each edit.
Only 10 minutes of real playing.
Day 5
It’s full play day!
Avoid overuse (max 1 hour)
For future sanding on the flat-side of the reed lightly use the 1200-grit paper.
By this time you should also be able to sort your performance reeds from your practice reeds. Save your happy reeds for lessons and performances.
If you know a reed will not be suitable for either - store it away for another day.
Final Thoughts
Clarinet reed care isn’t magic, it’s method. With a consistent approach to storage, testing and adjustment, you’ll finally start experiencing the control and enjoyment you’ve been chasing.
If you haven’t had any success with these methods it’s possible you’re playing on the wrong reed size for your mouthpiece. Don’t fall for the myth that better players play on harder reeds. The ideal reed strength balances resistance with control.
If most of your reeds feel resistant and stuffy it might be beneficial to try a half strength less, Alternatively, if your tone is overly bright or ‘edgy’ in louder dynamics, cracks in the high-register or feels too free-blowing, it might be time to size up.
Take it slow. Be curious. And most importantly, know when to say Con te Partiro to a stubborn reed. Life is too short to play on bad reeds. 😬